
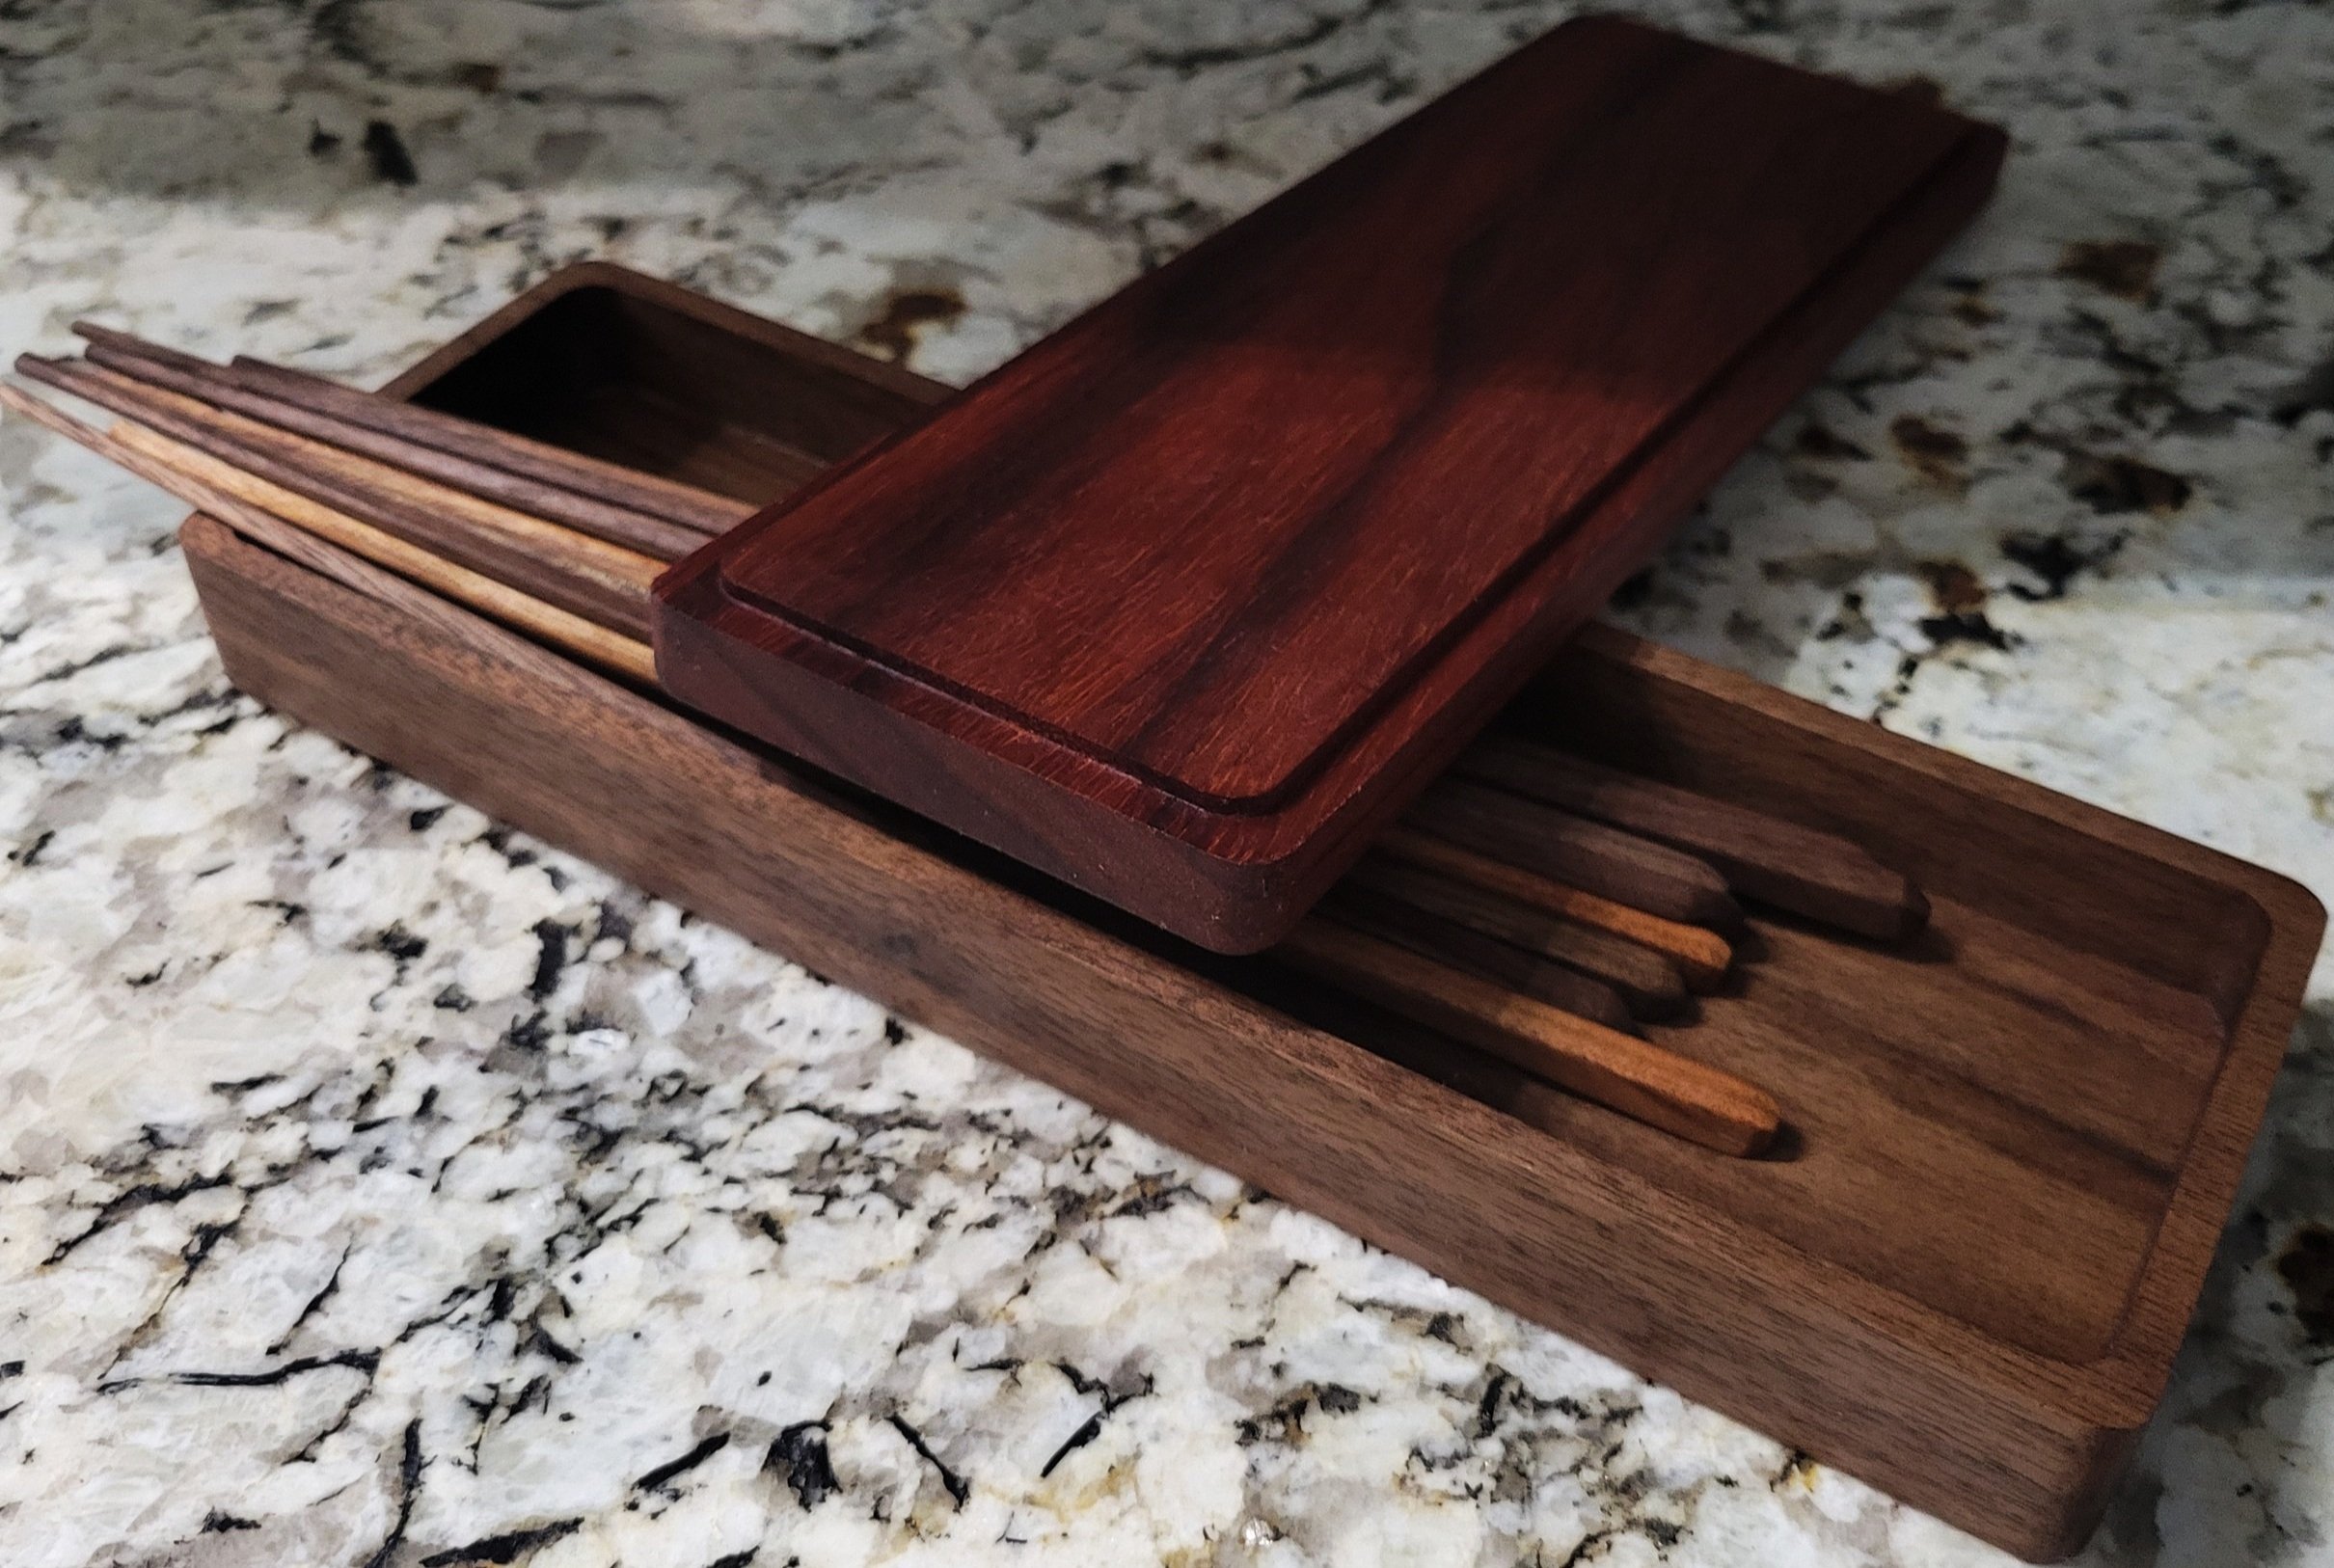
I designed a chopstick jig using Fusion 360 and CAM to machine it. It has 3 steps to get a chopstick. The first will get the width to 1/4 inch and then that allows it to fit into the next step. The second step has a taper from 1/4 inch to 1/8 inch at the tip. Once you plane it to the second size it is flipped 90 degrees and planed again.
The 3rd step was machined with a 90 degree v-bit so that you can hold the choptsick on the edge to chamfer it to the final size and with an octagonal tip.
Ultimately it takes 5 or so minutes to get one chopstick. This was a fun exercise to understand the CAM portion of Fusion a littler better. If you were to use a router table to get the taper set up correctly, you would need to use a shim on one edge to achieve it. That is all well and good, but I wanted to see if I coould find a way to use the CNC instead.
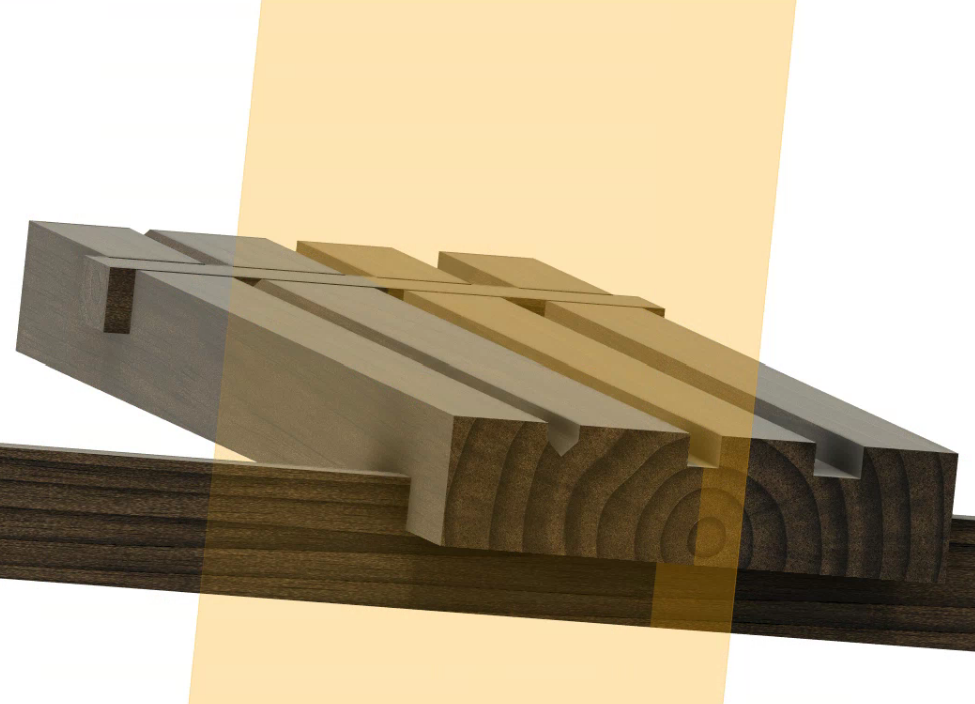
It seems straight forward this way, but you cannot machine a flat taper with a toolpath like pocket. You could attempt to do this with a 3d toolpath, but you will end up with multiple depths that leave steps behind and those would be hard to remove. The simplest and most straight forward way of creating a smooth toolpath that will move in the z axis on the taper path without multiple depths used is to use the trace toolpath in the 2d section.
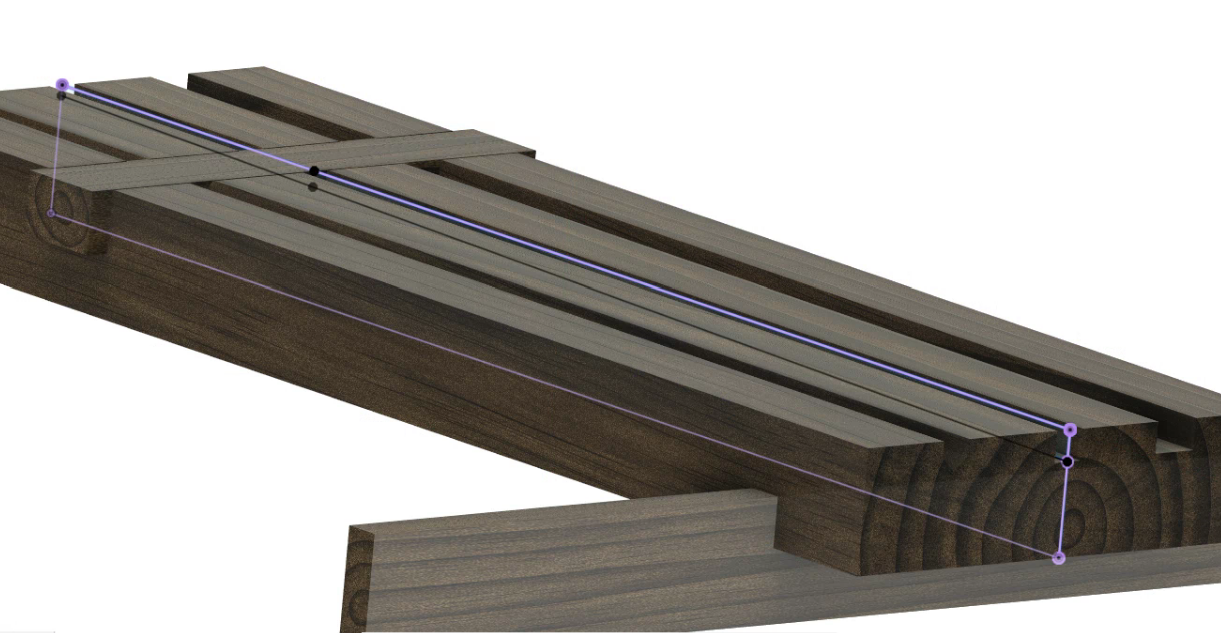
You can take advantage of sketches and surfaces in CAM that can extend your toolpaths beyond what is available using the model only. You can use sketches to force a toolpath to move along the sketch line. So, to create the taper line needed for CAM, set up a plane that is in the middle of the tapered pocket and 90 degrees to the surface. Since there are 2 walls on the sides of the pocket, you can use Midplane to set up the plane in the center of the pocket.
Next, create a sketch on this plane and project the pocket onto the sketch. This will leave the needed line to use trace with.
Then, in the manufacture section, after setup, you can use the trace path.
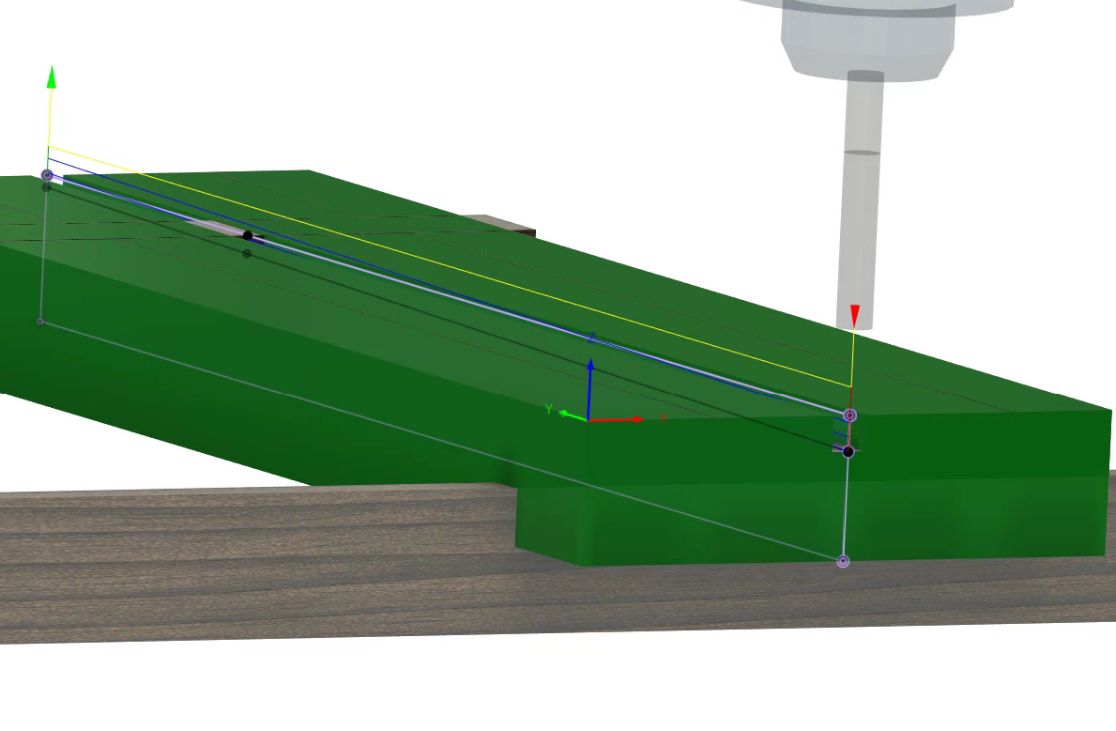
One downside of using trace is that it cannot do multiple depths in the same way you would expect. it is not aware of the stock used in setup and will cut air until it reaches the first cut. You may be fine with cutting at full depth right away. i wanted to make sure that I did not tear out the grain. Walnut seems to have this issue sometimes. I let it cut air for the first half of a pass. If you have the plugin that allows trimming the path, you could make it run faster using that. This is free for education, but costs credits for anyone else.
You would do this with both of the tapered toolpaths to get the same output. On the second taper that uses the 90 degree bit, you would end the toolpath at the distance of the tip instead of fully through the stock. I did a similar sketch and then manually added dimensions to achieve a line that was at the 9 inch length i needed for the cut.
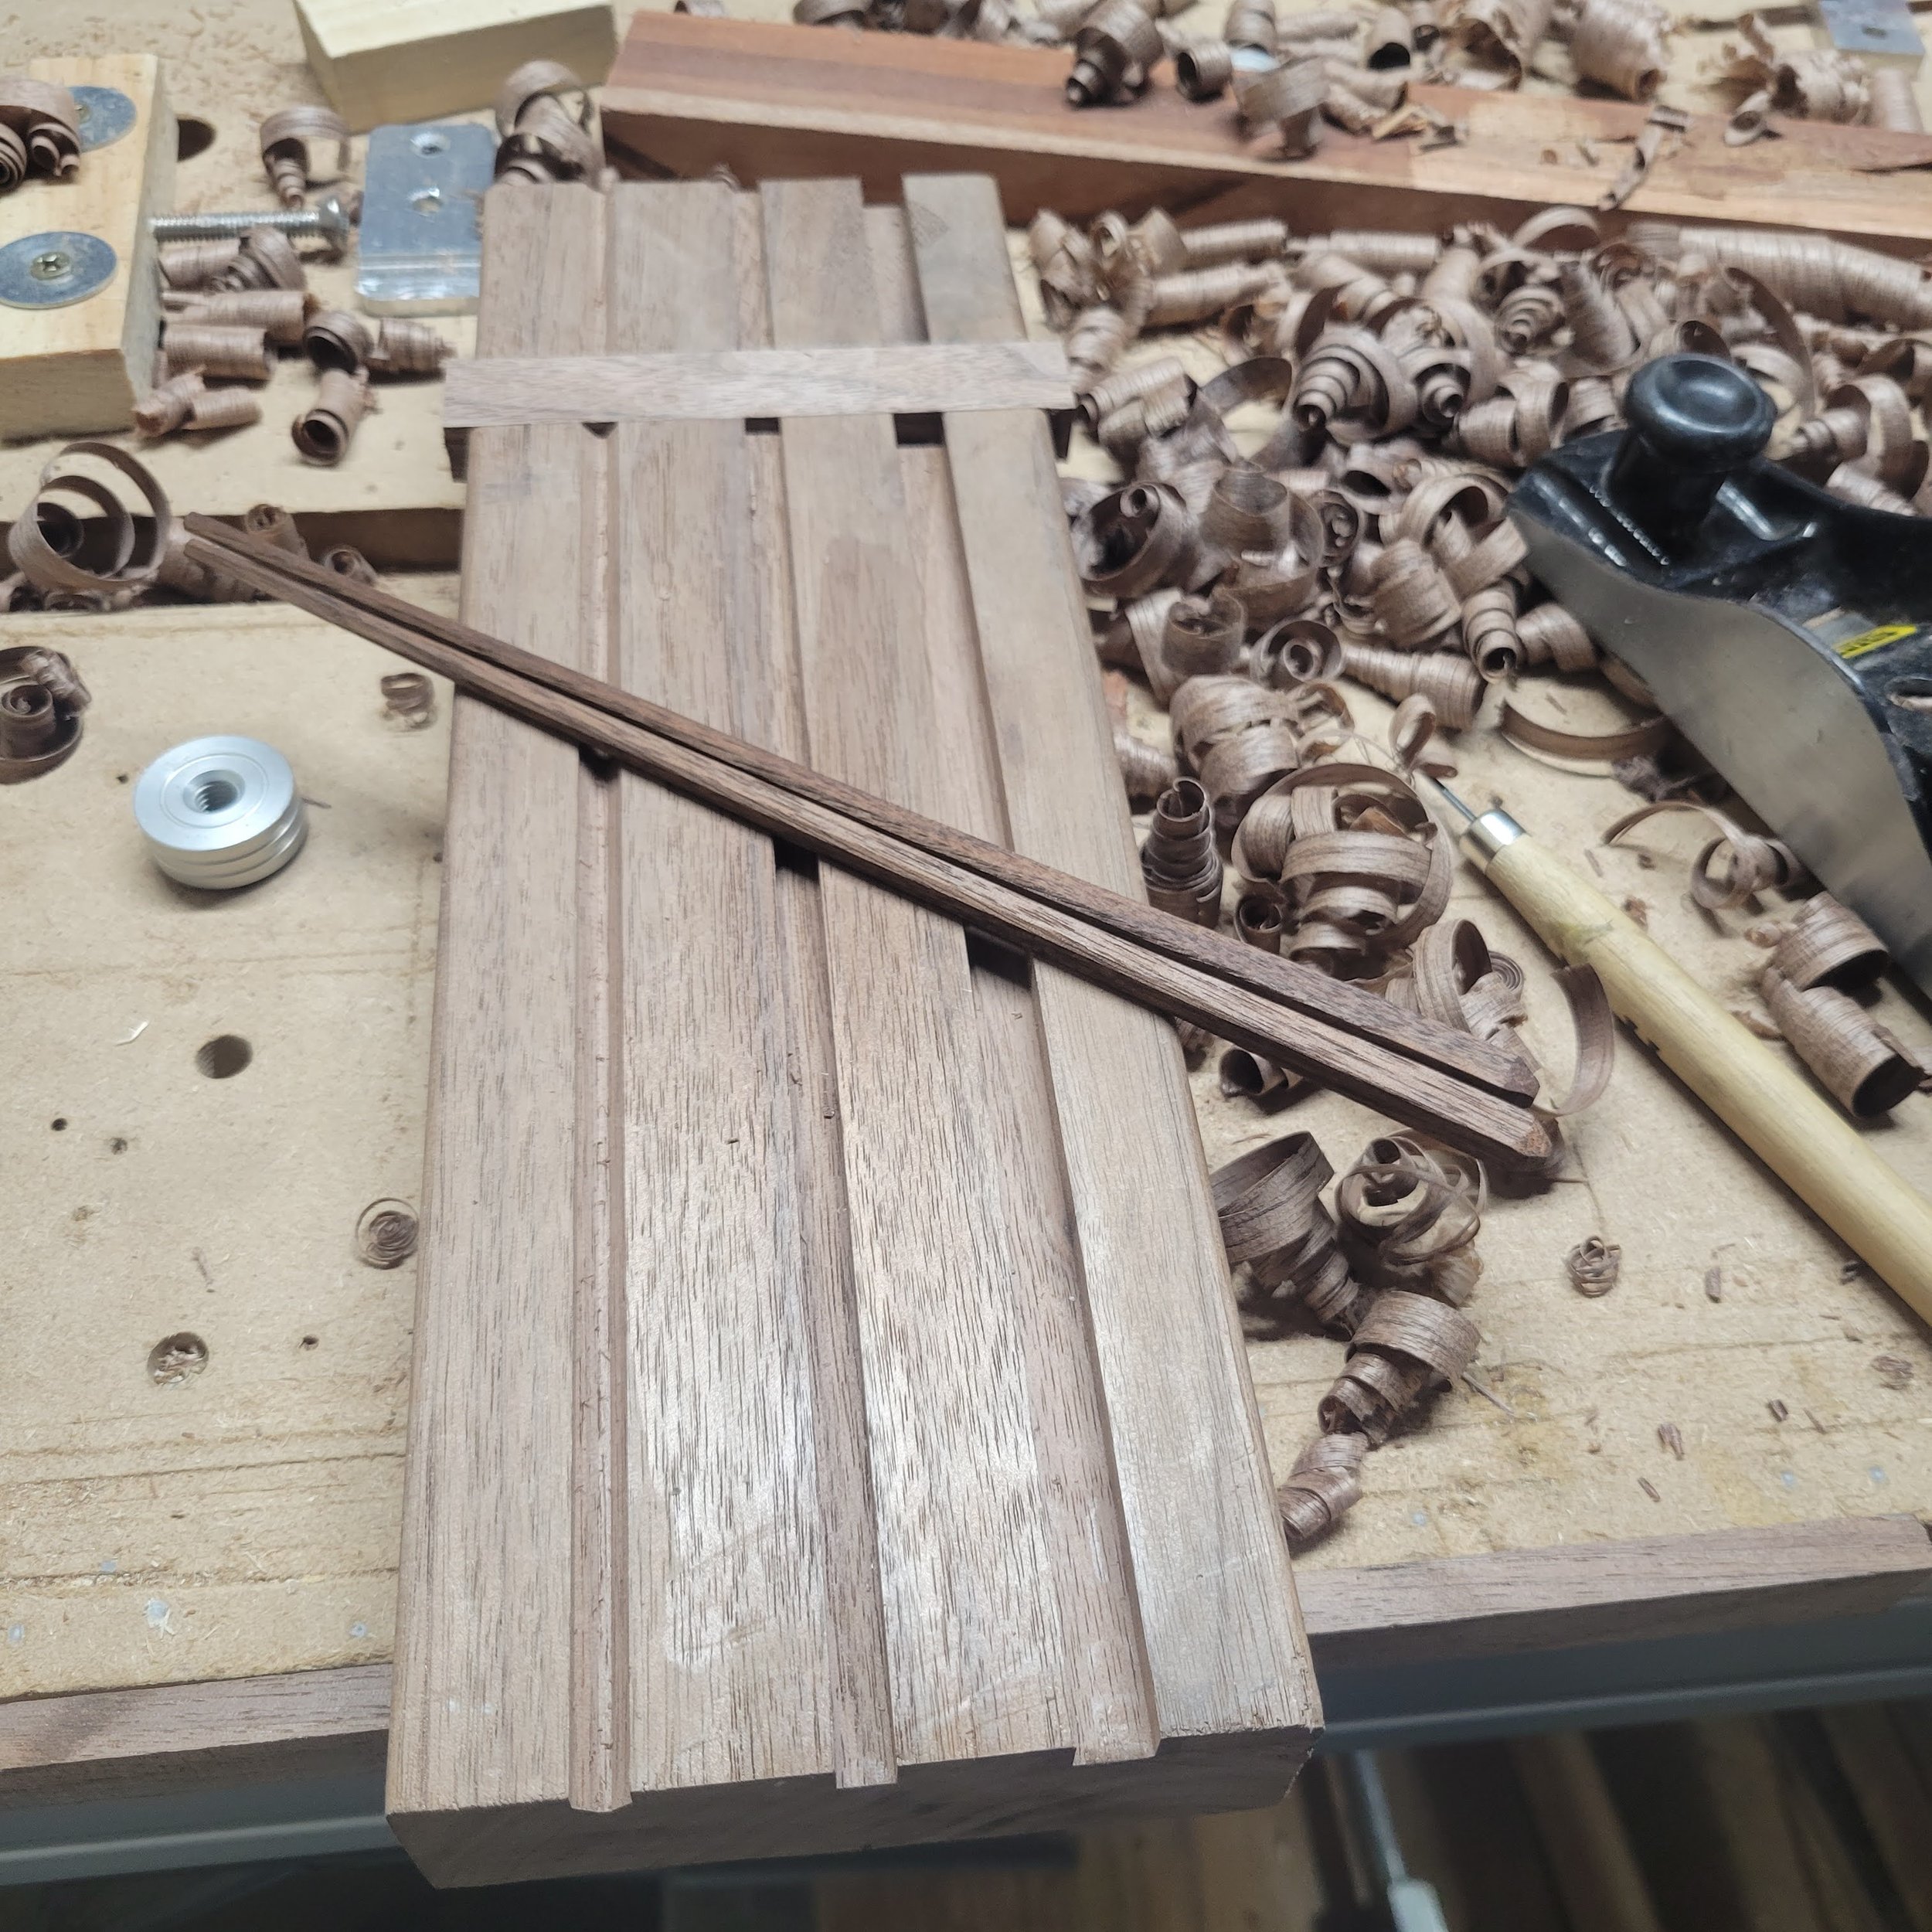
Once finished, I ended up with this as the result.
I could probably make this work a little better by creating a way for the plane edges to rest against a material that would not allow it to cut into the jig. However, some grain needs to be cut at different angle to prevent tearout. I just have to mind where I am at in the process and be careful not to plane the jig itself.
I am adding a link to the design to download and use if wanted. It should be self explanatory.


Leave a comment