
I purchased a CNC router parts pro 4896 a while back. Took a month before I could build it and months to get time to do anything else with it. Finally, I’m starting my first project.
This isn’t the first exactly, but the first things I had to do to get it up and usable was to make a spoilboard, and I spoiled it and broke a bit and some inserts learning how to use it and how to do offsets properly. With that behind me and a decent understanding of what to do with it, I decided to do a mixed media and electronic project.
The concept is something I saw online, machining a water ripple into wood. Using Aspire and a few vectors, this is easy to do. You just have to play with the extrusions and weave them for a good look. Depending on your computer hardware, this can take a few minutes between passes and makes it time consuming when trying to get a “feel” for the work. Using a waveform and a circle, you can extrude the waveform using the circle as a rail. Then adjust the z height once you have the basic shape you want.
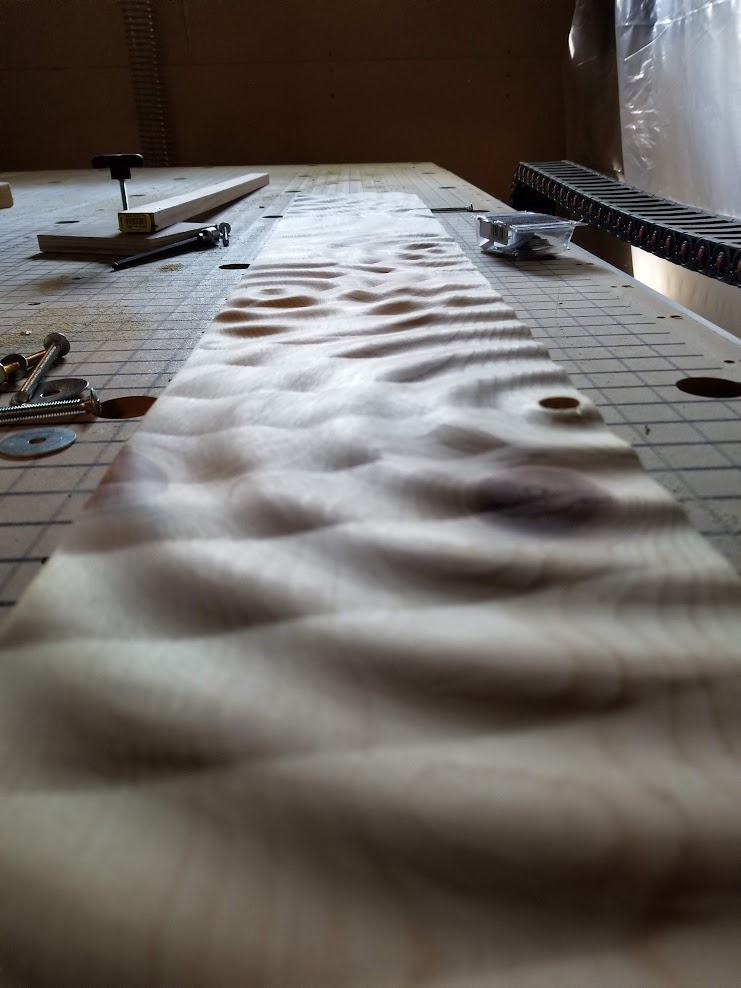
Routed and drilled for my light
This is the output I decided on. I may try a higher z height on another in the future, but I think it came out well. I wish I had thought about mounting this before I finshed cutting it. I may go for a hidden floating shelf bracket. But, Now that I had my basic shape, I wanted to try and add a water drop as if it were a still capture of a droplet splashing back up.
I thought about 3d printing something, but it would not be easy to get a clear object without many aberrations. Next was glass. So, I brought out the oxy- propane torch and some clear borosilicate to try and make what was in my head. Surprisingly, I did on the first try.
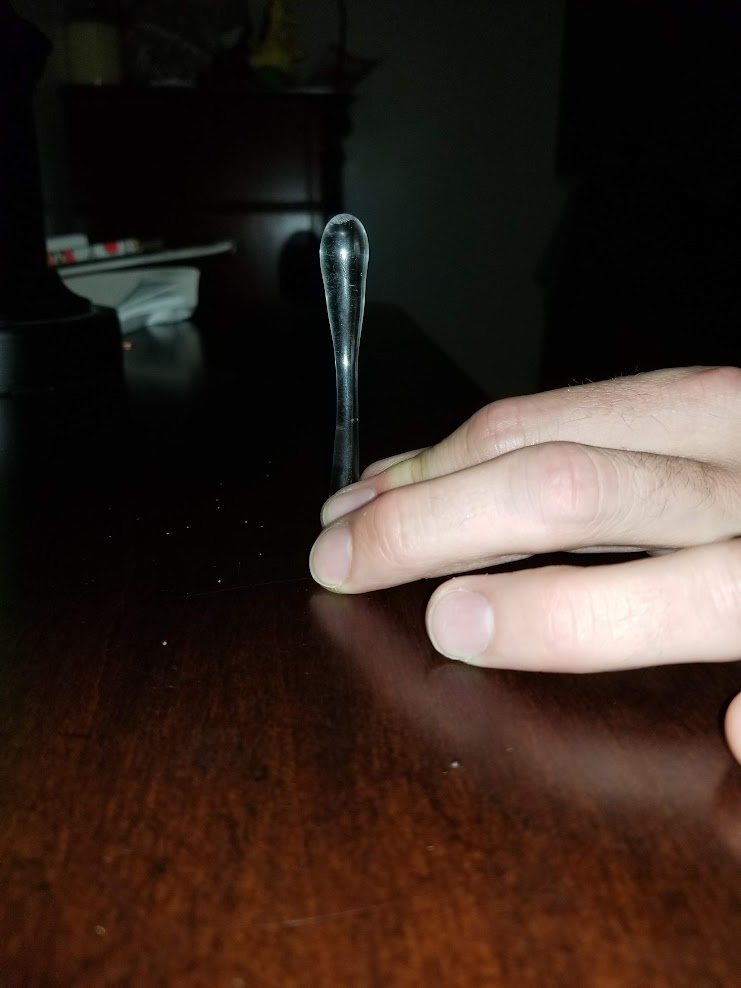
First water drop
I tested the drop with a neopixel rgb led.
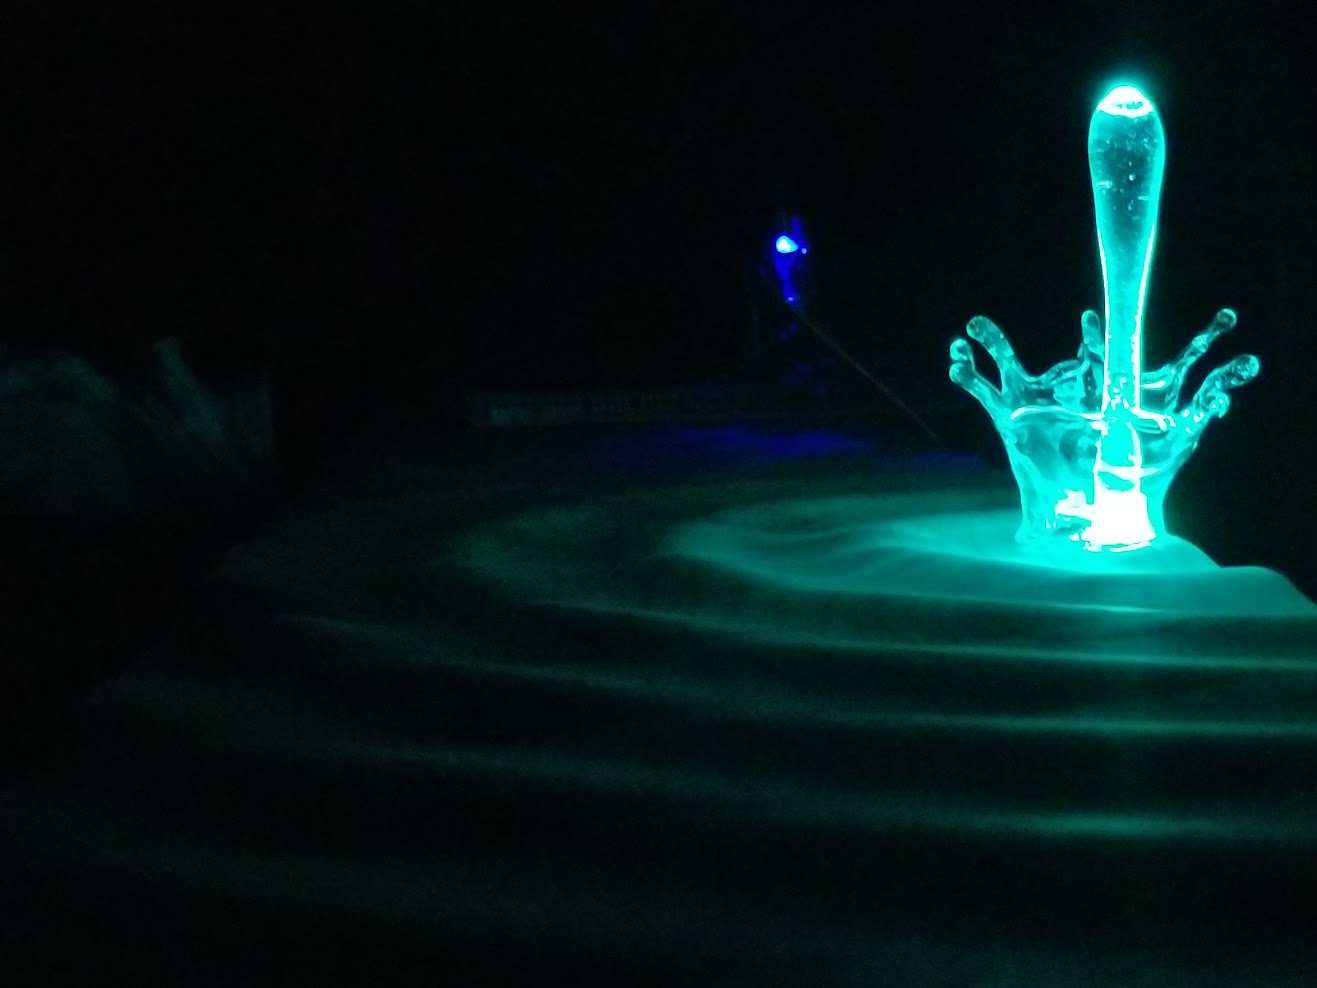
I thought it looked pretty good, but was missing the splash that I really wanted. So, I used a piece of borosilicate tubing and flared the end, and made drops flowing out from the center.
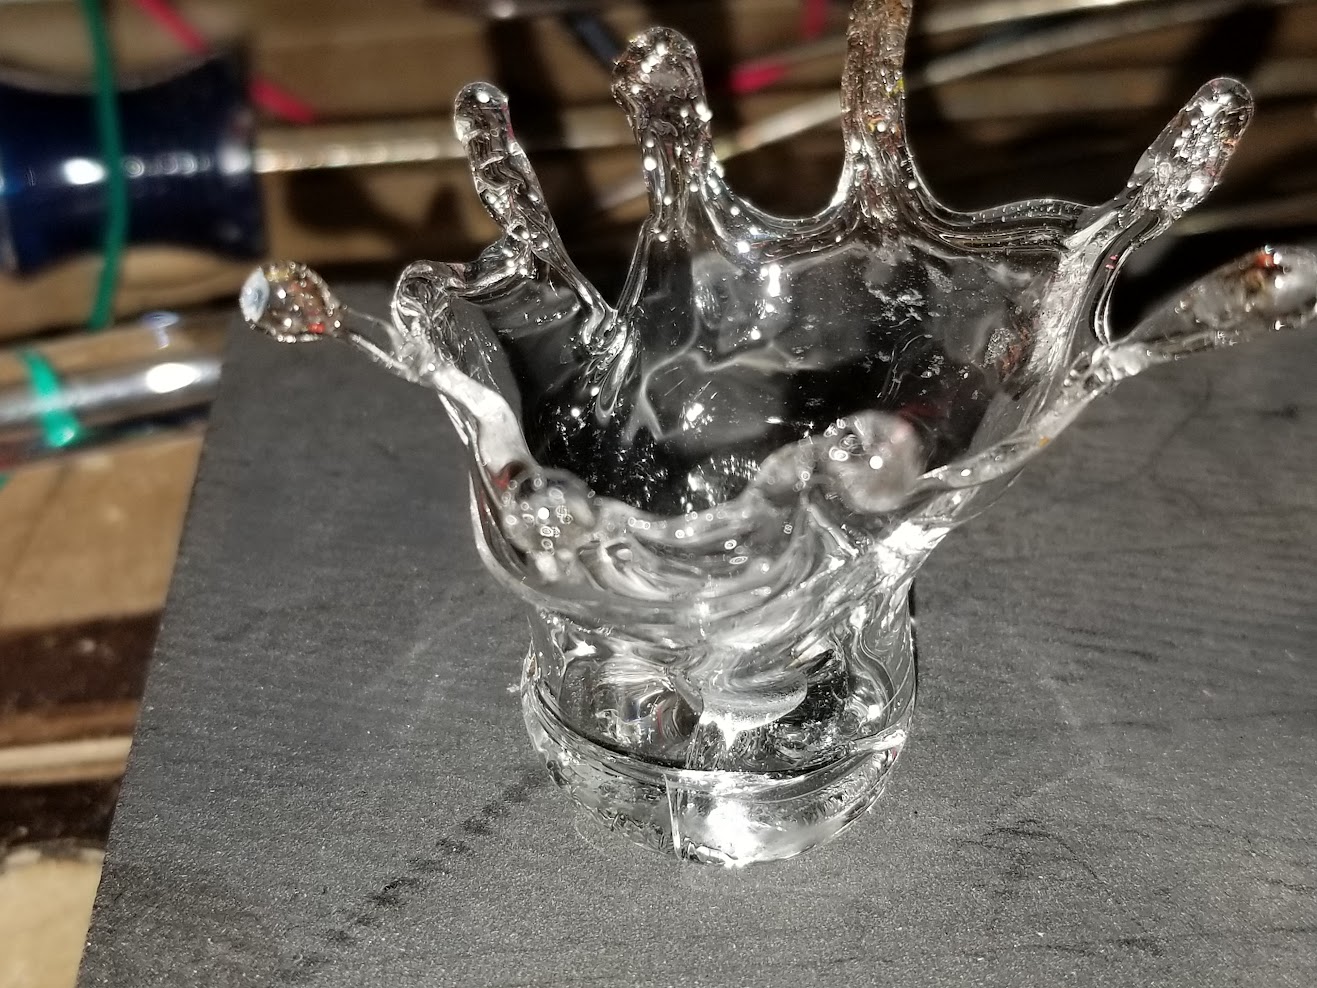
I did not use an annealing oven to cool down, and the bottom was thick enough to crack without it. But, the result allowed me to use it in the way I wanted to without destroying the whole piece. It removed the bottom completely when I picked it up and that allowed me to place it over the drop, resulting in this.
I then added a n ESP8266 to it and then used openhab with MQTT to change the colors. I found some examples online on how to convert rgb from openhab to grb for the neopixel library and could only find some posts that used an outdated and forked version of the pubsubclient library. I did not have the time to figure out how to convert it to using the main build . I am sure that I could, and will in the future, but I wanted to get this working. I will need to do so shortly so that I can add animations and things other than just using openhab to change it. If anyone out there has already written code to convert using the correct pubsubclient library, please say something. Less work is always preferable and this will always be in the back of my mind as another string I need to tie up to truly have my home automation system easily ported across everything I own.
For now, I had to remove the pubsubclient library I use in everything else and place that in a backup folder, then move the forked version in to the library folder. I just had to label it to remind me to use it when it refuses to compile in the future. I wish there were a better method, and maybe there is.
It works, looks decent and combines several skills that I have acquired over my life. Random projects tend to lead to other ones in the future. Always a good excuse for the wife when she asks why you need this or that tool. I have no idea right now, but later I can give a better answer. Usually the answer is several years down the road and then I just say, “see, this is why I learned that random thing that long ago”.
Any new endeavour is worth it, you may never know what it could lead to.


Leave a comment